Monday, September 29, 2014
Tuesday, September 23, 2014
Sunday, September 21, 2014
Bathroom wall quilt
I made a quilt using the leftover strips from my tuffet project. I used the strip set called Bali Pop "Sea Holly". I think what I made is the pattern called "Popsicle Sticks". I hung it in the downstairs bathroom.
Saturday, September 20, 2014
An inviting place...
I love this painting Kira did. It's nice to know she hangs out in such a beautiful place.
Thursday, September 18, 2014
Woven Strips Quilt Design
I am playing with 2.5 inch strips. You can buy pre-cut strips in nice color combinations. I am going to start with those and probably supplement from my fabric stash. This is a simple design because it uses all the same size pieces and they are cut from strips. This design will allow me to play with the colors as I go along, and that is one of my favorite things.
I used Excel for this design. I used borders, format copy/paste, and fill colors to make my design. Oh, yes and I used a macro to make the cells square.
The "blocks" are not square blocks but why do they have to be?
The design is just the idea to get started. The quilt I make will not be colored like this. It will have more variation and probably very different colors. Who knows what else will be different... I often change things as I go along. I don't like being locked into a plan.
I am still thinking about construction. I may highlight the texture by using an extra layer of batting in the vertical strips. I think I will sew the five strips parts together right sides together in the convential manner. I may use the zig zag stitch on the vertical ones. Then I can quilt that extra batting layer at the same tie I piece those together.
Here are my notes on fabric requirements and cutting the pieces.
| Use 2.5 inch strips | |||||||||||||||||||||||||||||||||||||||||||||
| finished blocks are 16 wide by 10 high | |||||||||||||||||||||||||||||||||||||||||||||
| 40 blocks total (5 blocks wide by 8 blocks high) | |||||||||||||||||||||||||||||||||||||||||||||
| quilt is 80 inches square | |||||||||||||||||||||||||||||||||||||||||||||
| 320 strips total (8 strips per block, x 40 blocks) | |||||||||||||||||||||||||||||||||||||||||||||
| all strips are cut 10.5 long (or cut full width strips in quarters) | |||||||||||||||||||||||||||||||||||||||||||||
| 80 fabric strips (320 block size strips/ 4 strips per fabric width) | |||||||||||||||||||||||||||||||||||||||||||||
| To use two colorways as pictured: | |||||||||||||||||||||||||||||||||||||||||||||
| 120 vertical weave colorway block strips (3 strips per block time 40 blocks) | |||||||||||||||||||||||||||||||||||||||||||||
| 30 vertical weave fabric strips (120 divided by 4 per strip) | |||||||||||||||||||||||||||||||||||||||||||||
| 200 horizontal weave colorway blocks strips (5 strips per block times 40 blocks) | |||||||||||||||||||||||||||||||||||||||||||||
| 50 horizontals weave fabric strips (200 divided by 4 strips per block) | |||||||||||||||||||||||||||||||||||||||||||||
Tuesday, September 16, 2014
And now the second wall of the garage is done....
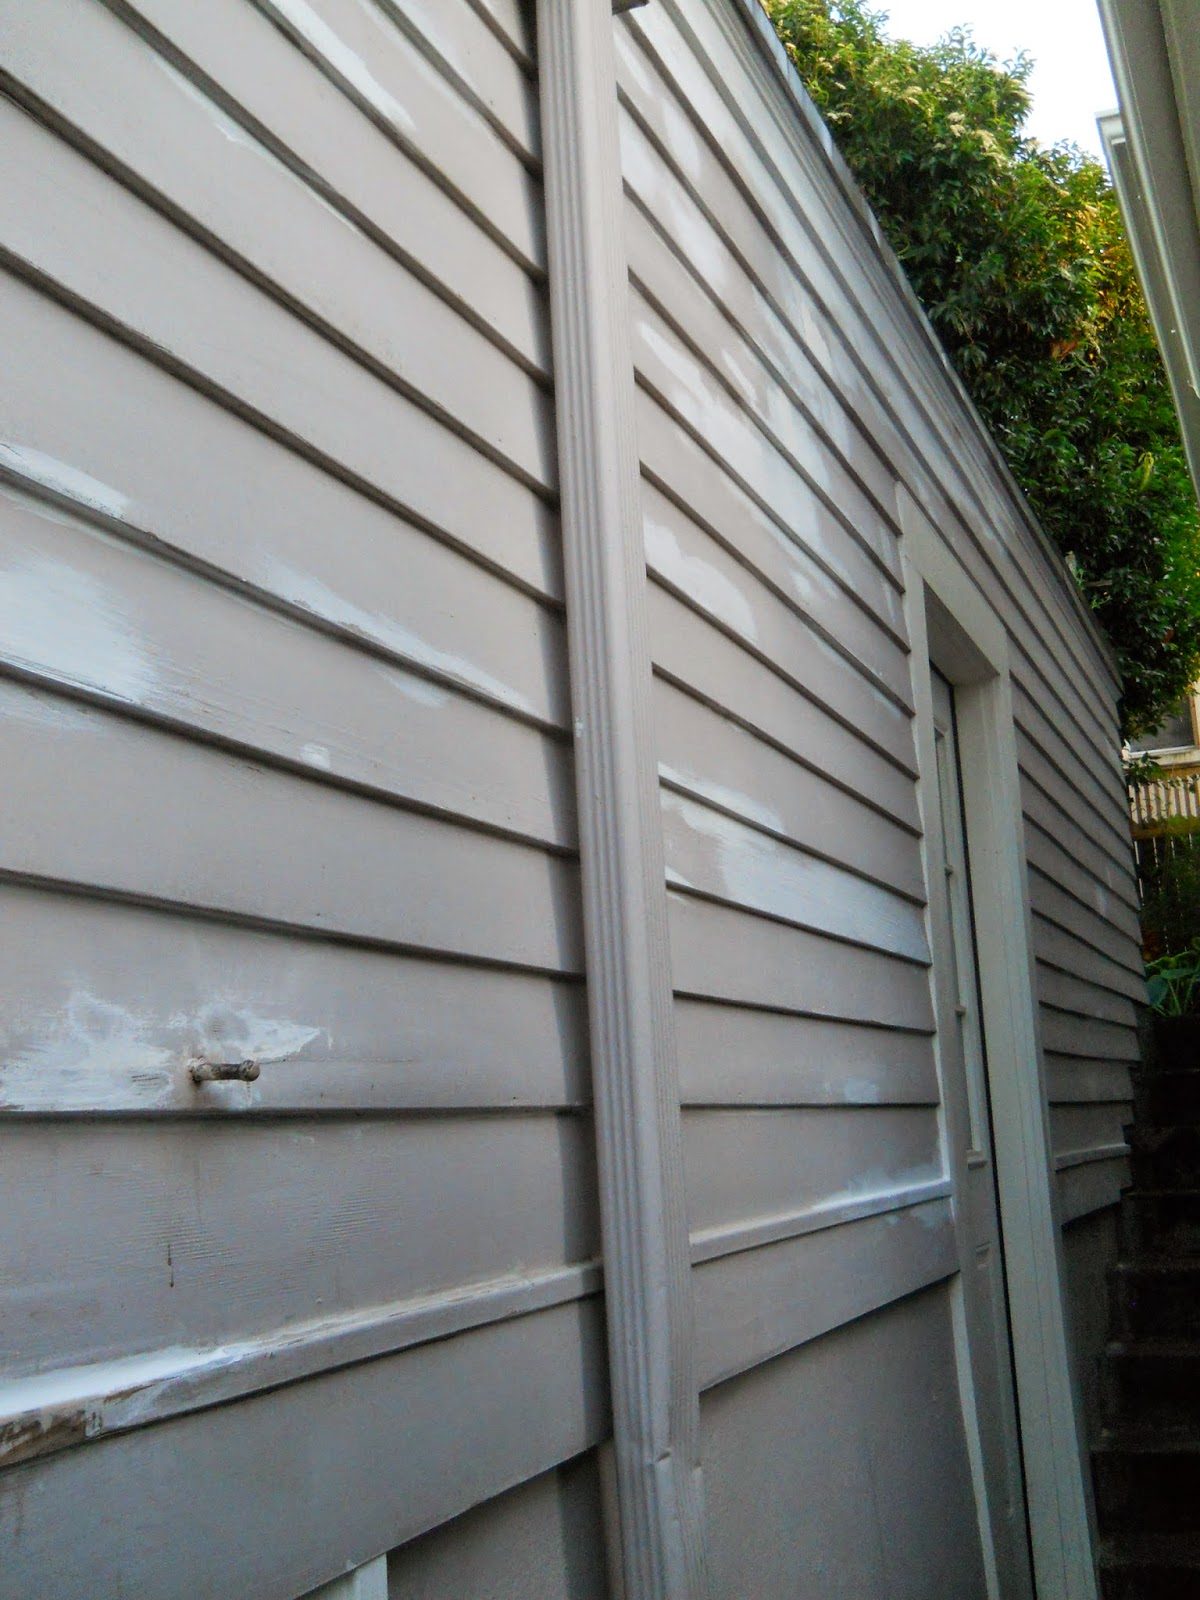
Remember this?
Well, now it looks like this....
Well, now it looks like this....
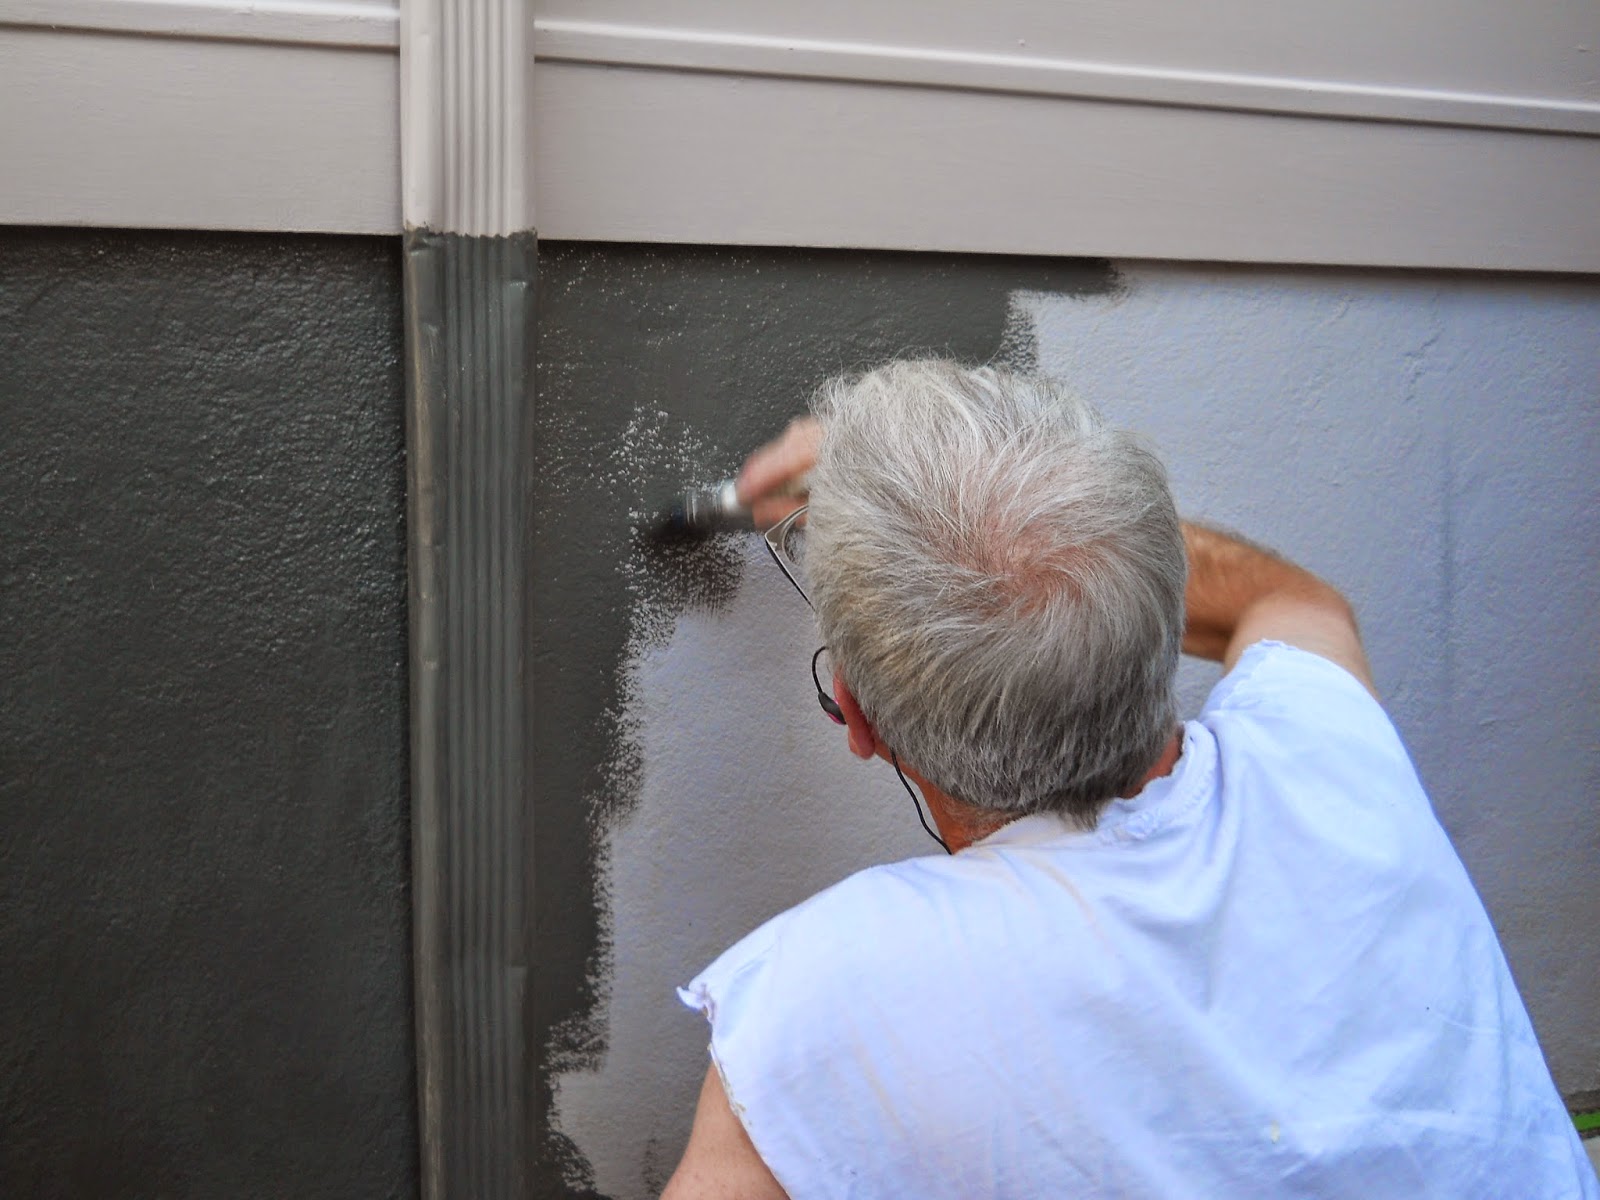
Here he is painting on body color.
Doesn't it look amazing?
And now John looks like this....
Monday, September 15, 2014
Upstairs bathroom project update
I wrote about our simple bathroom update here. The shower has been professionally cleaned and has new floor tile. DeWolf Tile did a great job.
The new bubbled glass shower door is in. We got the shower door at ESP Supply. We like it and it hides the old shower wall tile, which we do not like.
It feels great to be in the shower space. The bubble glass makes the shower soft and nice. The bathroom looks like this through the bubble glass.
The new bubbled glass shower door is in. We got the shower door at ESP Supply. We like it and it hides the old shower wall tile, which we do not like.
It feels great to be in the shower space. The bubble glass makes the shower soft and nice. The bathroom looks like this through the bubble glass.
ZigZag Quilting
I love color and love fabric. I like to make things that are both pretty and useful. That is why I quilt. There are some parts of traditional quilting that I do not enjoy. I don't like fussy piecing and I don't like machine quilting, at least not on my machine. I decided I did not want any new equipment. I want to adapt my process to work with what I have.
The zigzag stitch is the answer for me. I can piece and machine quilt at the same time using a zigzag stitch. A closely woven fabric is probably required... batiks are a good choice.
I hate making all my design decisions before I start and the zigzag "topstitch" method allows me to make design changes as I go along. Here I am adding small squares to something I already pieced and zigzag quilted. And I add the square the same way. I just zigzag over the raw edge.
I can also easily repair anything that gets damaged through use or because there are cats in my household. My quilts are to USE!
I do some hand quilting, too, because I enjoy it. But I machine quilt first and then use the hand quilting decoratively. Here I am using pearl cotton to hand quilt Z's (in memory of Ozy).
Zigzag stitches are strong but they are also easy to remove (just slip your trusty seam ripper under those stitches). I like being able to easily correct errors, make repairs and even do design additions.
Indian Trading Blankets and Serendipity
Pendleton Woolen Mills has an interesting history of their Indian trading blankets. I got curious about trading blankets when I was working on a quilt recently. I was using a 2.5 inch strip set and had a plan for what I was going to do. I happened to pin a few of the strips on in a way that reminded me of trading blankets so I went with it. Serendipity is the friend of creativity. You just have to be paying attention!
Sunday, September 14, 2014
Repairing and painting the garage
Yesterday I helped John paint the first wall of the garage, which he had already prepped.
Today he has been working on the garage door which has a lot of rot. This is after he cleaned out the rot.
But the first wall is done, done, done!
Doesn't this corner he repaired look good?
Today he has been working on the garage door which has a lot of rot. This is after he cleaned out the rot.
But the first wall is done, done, done!
Doesn't this corner he repaired look good?
Friday, September 12, 2014
Our pretty house
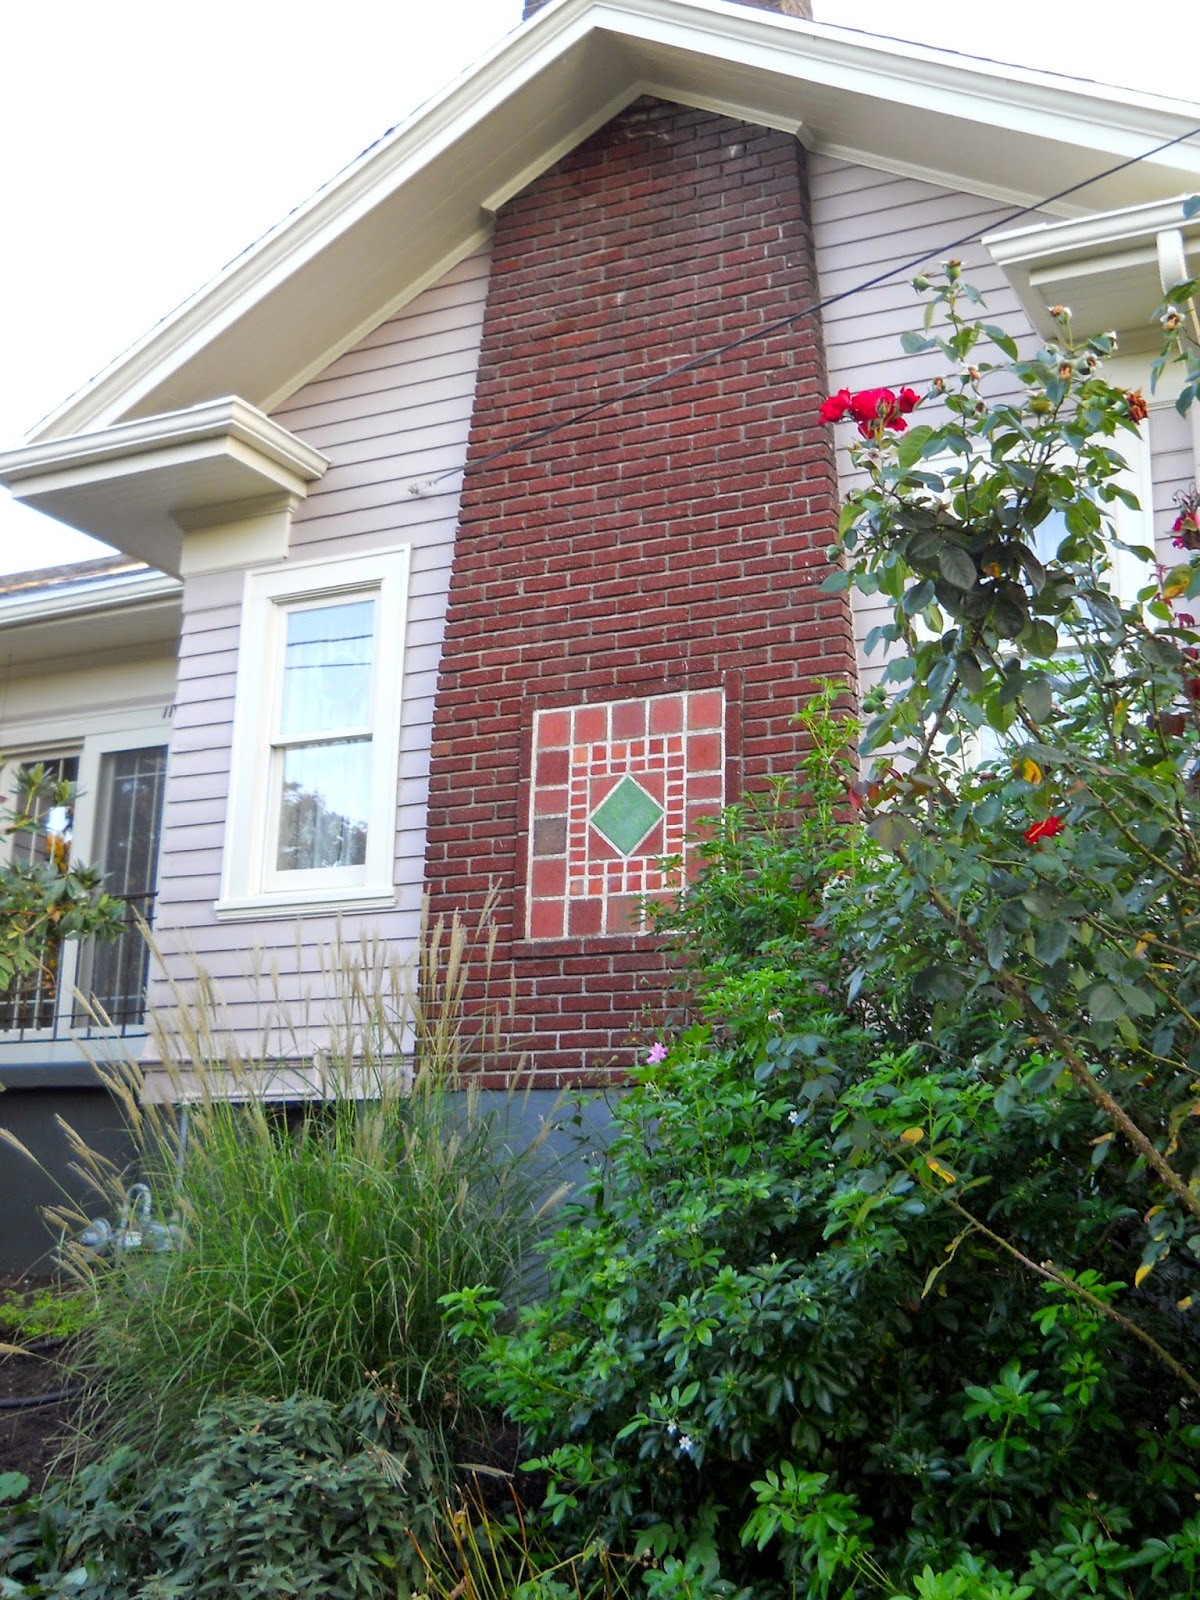
We just had our house painted. Three sides anyway. It was a great treat to have someone else do it and we like how it looks. These photos are for John, who didn't have to paint the house. It was painted by Posten Painting. The colors are Benjamin Moore Sandlot Gray (body), Lancaster Whitewash (trim) and Deep River (foundation).
We didn't have the garage painted and John IS working on that.
A corner he already fixed.
We didn't have the garage painted and John IS working on that.
A corner he already fixed.
prepping...
Thursday, September 11, 2014
Tile design tool
Daltile has this pretty cool little tile design tool. It's fun and you can actually order your design. You select your canvas, pattern, and tiles. Then you can get a quote on your tile.
Here is a floor designed for a 1950's retro bathroom.
I used the tool to make a much simpler design for my small shower floor.
The tiles I chose are 1" square and speckled light and dark grays. I think they will be nice in that very small space.
And here is another color combination (same background, green accent).
Here is a floor designed for a 1950's retro bathroom.
| Source |
I used the tool to make a much simpler design for my small shower floor.
The tiles I chose are 1" square and speckled light and dark grays. I think they will be nice in that very small space.
 |
| Desert Gray Speckle D200 |
 |
| Suede Gray Speckle D208 |
The finished closet
The closet project is finished! It looks so good. I can't get a photo of the whole closet at once so here it is in pieces.
this corner had water damage
our mini office
the beadboard ceiling
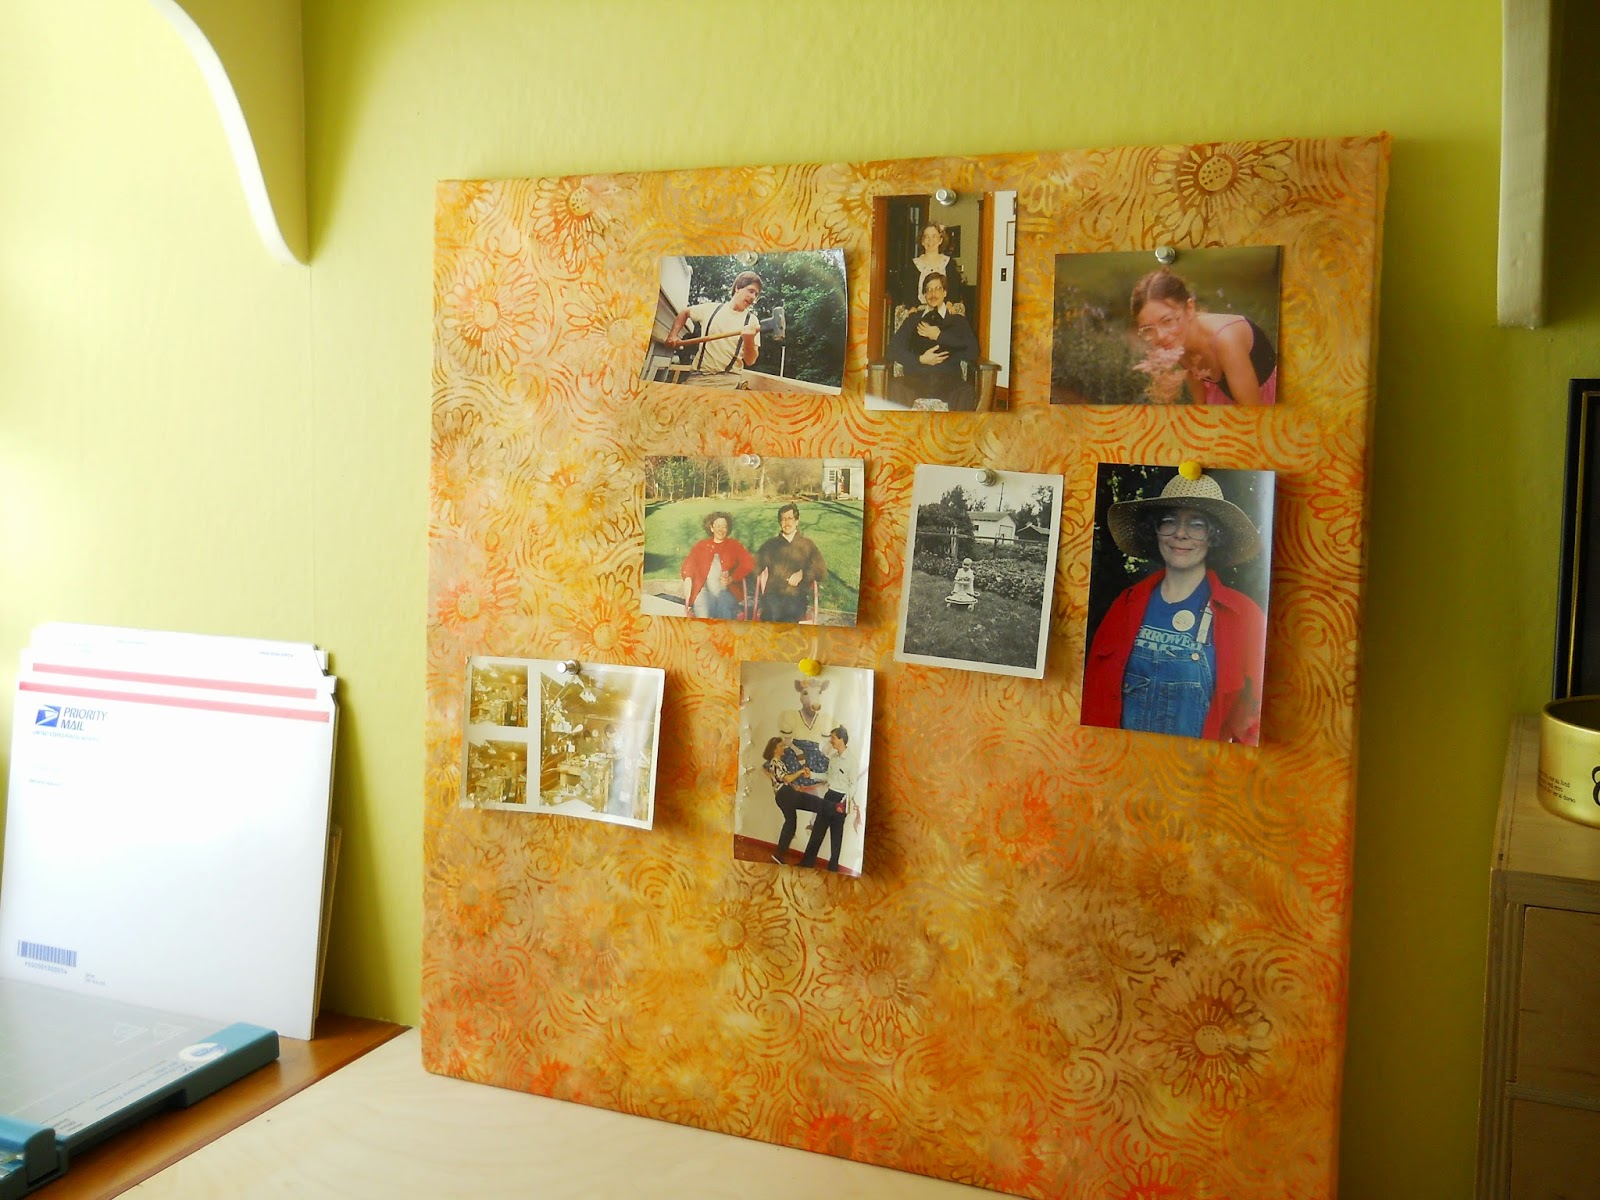
I covered some rigid foam board with fabric to make a bulletin board for some old photos
Subscribe to:
Comments (Atom)


