Showing posts with label Marmoleum. Show all posts

Tuesday, August 21, 2012

Dat da da dah

It's done!  Our kitchen project is done.... this phase is complete.  We are really happy with how it came out and glad to be done.  Getting the stone into the house was a little scary but we were too busy to get any photos of that.


The counter top is really pretty

The top arrives
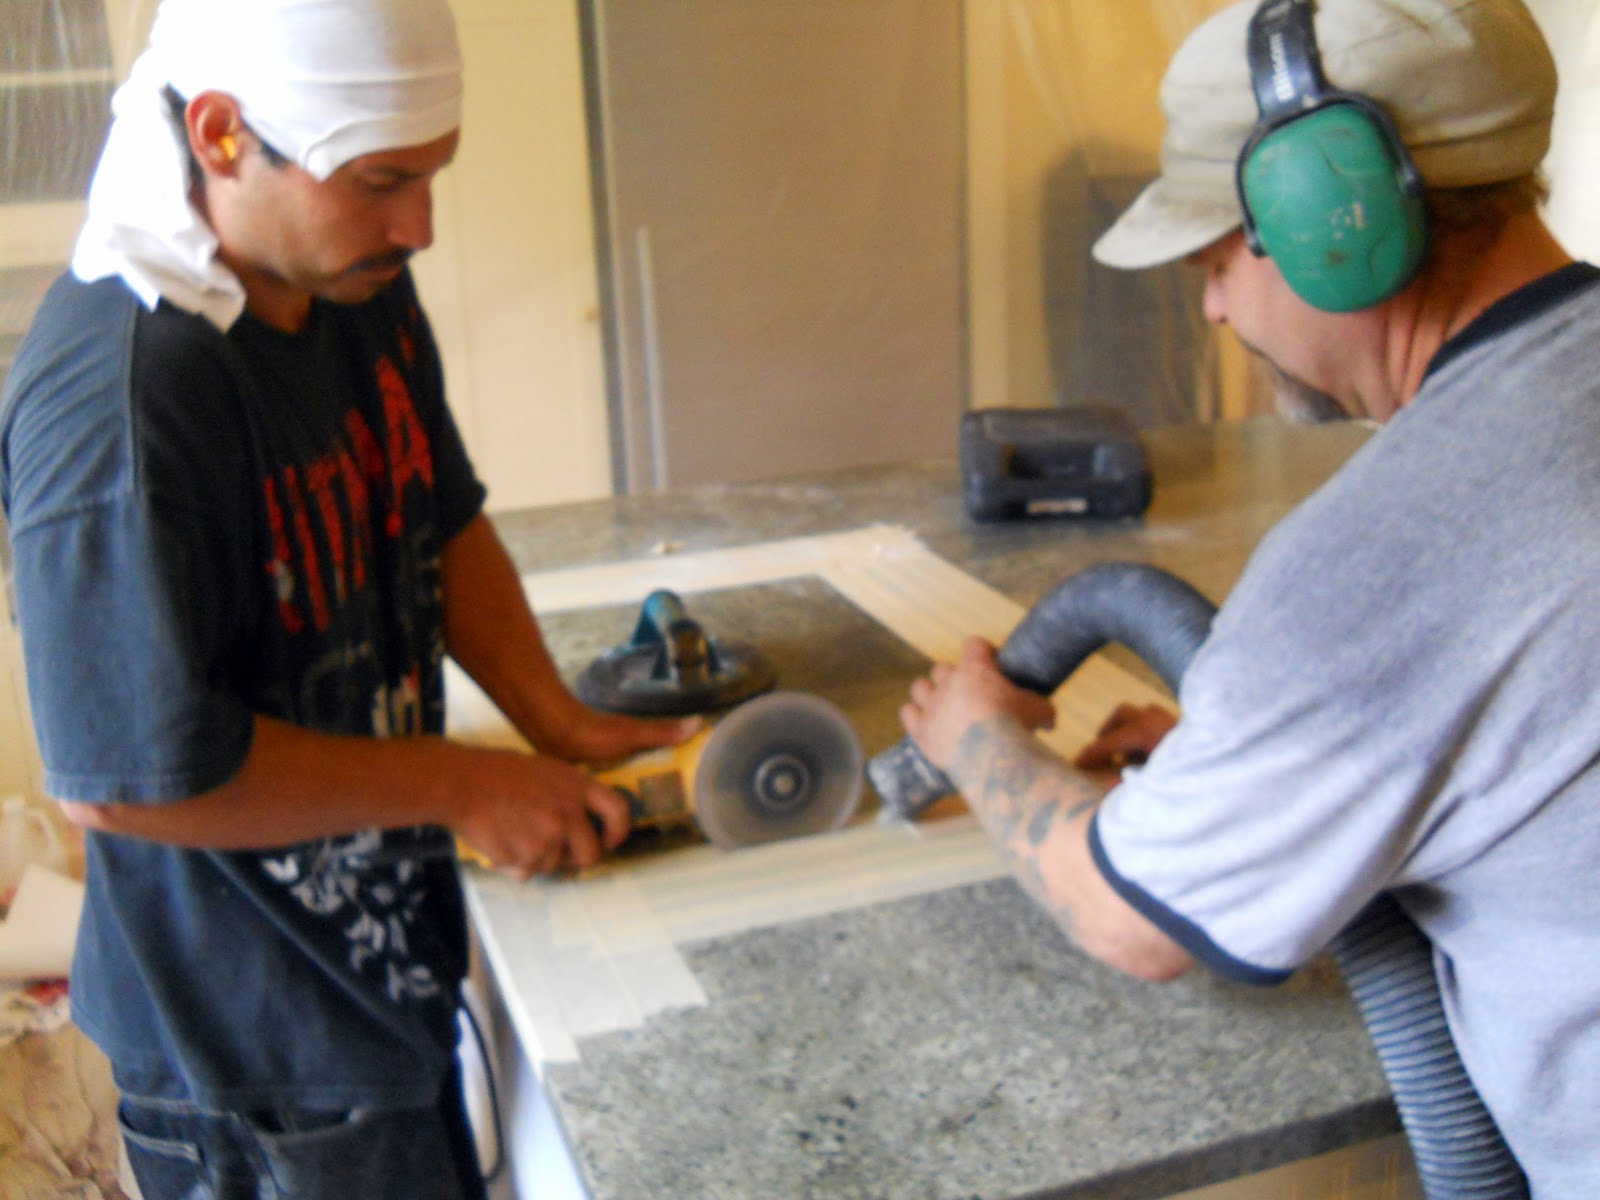
Cutting the stove hole
looking from the dining area toward the work area


and from the opposite corner


Click here for more photos of our kitchen

These are before photos....
Before this phase photo


The kitchen when we moved in, 17 years ago.


Sunday, August 5, 2012

Marmoleum drawer liners

We are using marmoleum scraps to line many of our new drawers.  It makes a great liner for shelves as well. I asked our installer for tips on how to cut it and he said to score the back and then break it.  That is not how he cut it for our floor but what he recommended I use to cut out rectangles like I want..  I tried using my rotary cutter to score it and the technique works great.  Here is my second drawer.  I love how it looks.


Only 22 more drawers to go.

Friday, August 3, 2012

Let there be light...

The new marmoleum floor is much lighter in value than the old green vinyl.  Just look how bright the kitchen looks now!

the new marmoleum
the old green vinyl

Thursday, August 2, 2012

Bare naked kitchen

The floor is in and it is great.  The kitchen is looking a little naked with no island, no table, no furniture.  Tomorrow we move in all those things, including the island cabinets.

Here is the naked kitchen.  The new floor is so much lighter than the old floor, which is very nice.  The stool and small table over the blue tape x's are where there are holes in the floor under the island.  We don't want to accidentally step in the holes.  The island cabinets come up from the basement tomorrow (my husband is building them).

The sink counter is next year's project (in our 20 year kitchen project).  Twenty year kitchen project


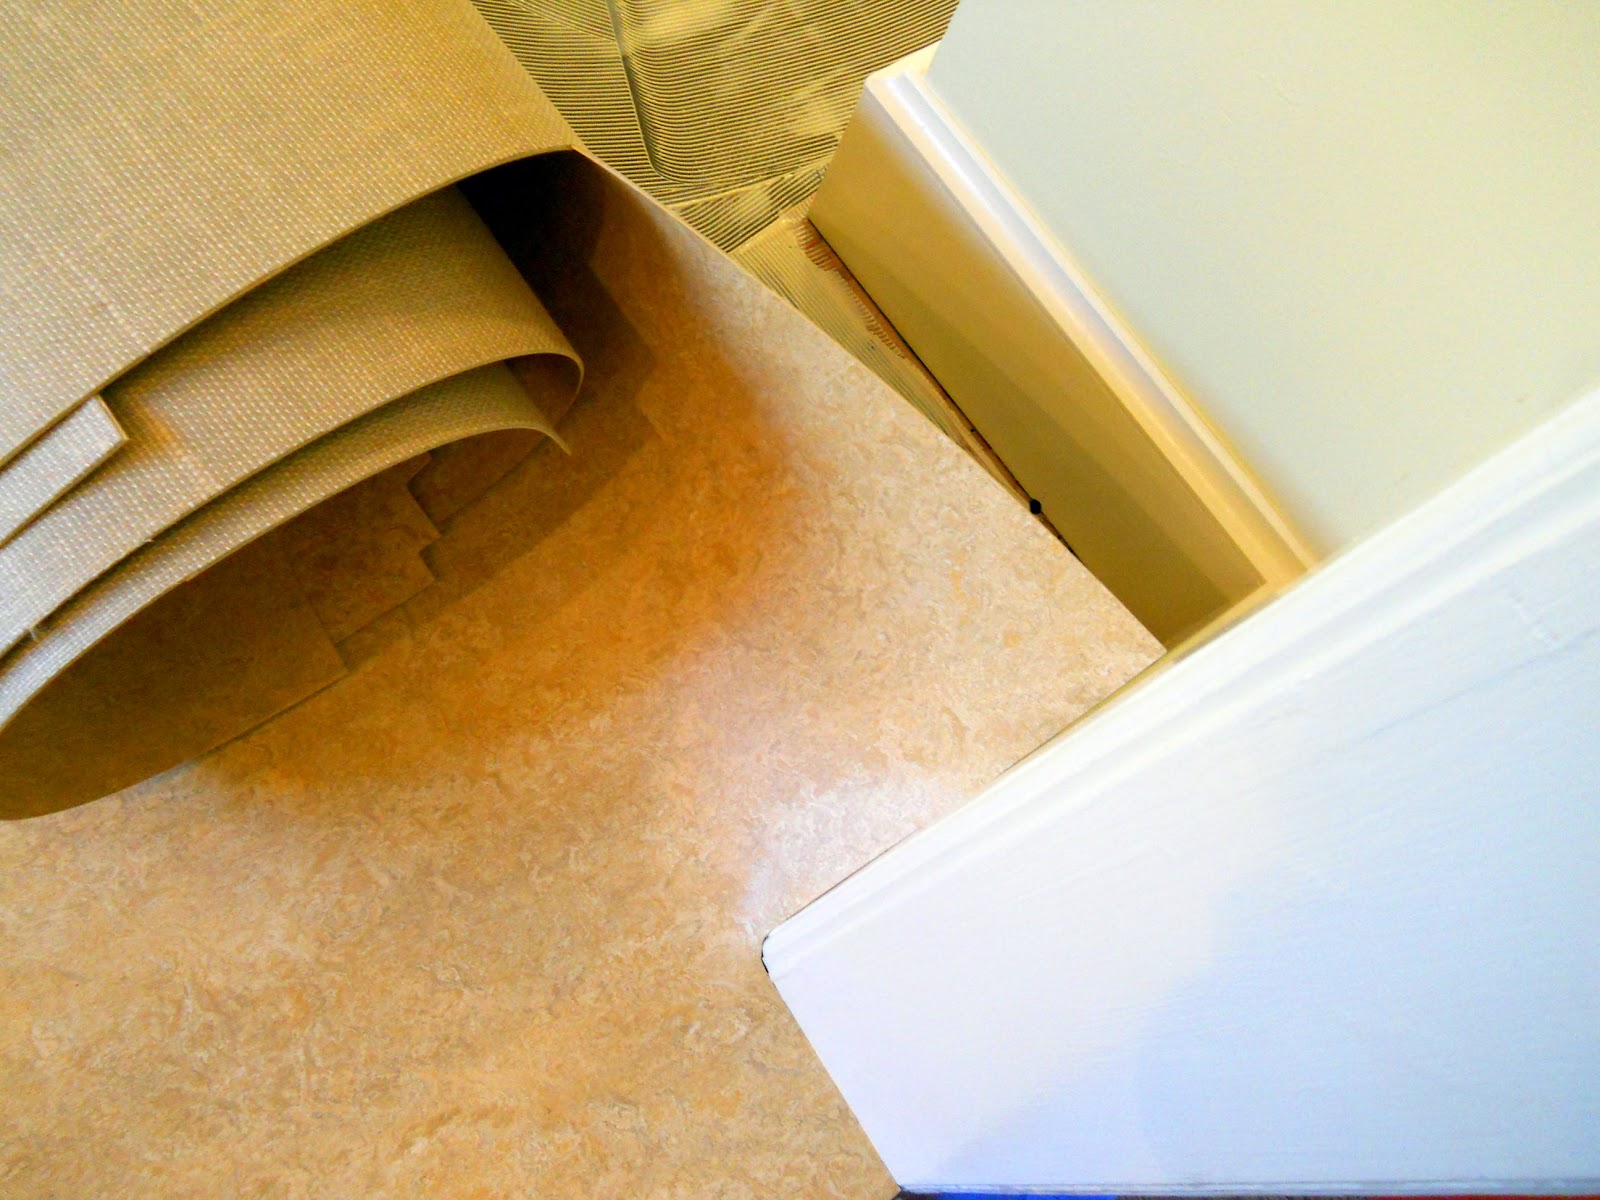
Closeup of marmoleum

In the meantime, John is putting some final touches on the island cabinets...
Drilling holes in the cabinet for something

Tuesday, July 31, 2012

The floor installation, Day 2

We feel very fortunate to have such excellent craftsmen installing our marmoleum.  They are really, really good at what they do.

Checking yesterday's work...


Laying out a piece to be cut to shape


Cutting and fitting the template


Cutting a straight clean edge on the marmoleum

Rolling out the first piece of marmoleum

Spreading the glue


Gluing the marmoleum in place

The first piece is in!


The second piece has several tricky cuts.  It goes across the floor, around a couple of doorways and the stairs and then, wraps around into the closet under the stairs.  This is the template for the second piece.


Wrapping around the doorway...

following the stairs...

It is going to wrap around into the closet.

 You can see the cutout for the closet wrap around

Here it comes!


And now you can see it wrapping into the closet

Rolling the marmoleum with a heavy roller

And tomorrow, the final piece goes in.

The floor installation Day 1

Our new marmoleum floor is being installed.  We had to clear everything out of the kitchen and stash it in other parts of the house.  Every downstairs room has been affected.  We locked the cats in one room with all their paraphanalia (food, water, cat box).  They were pretty easy going about it though they got cabin fever by the end of the day.

Dave Pitzer (DJs Floors) is doing the work and he is great.  If you live in Portland, you would be lucky to have him do your floor.  I certainly feel lucky.

We have our camp stove set up in the backyard; however, we have to go out the front door and around the house to get to the backyard.  I feel anty when my house is so chaotic.  And I can't remember where everything is.

the cats hiding out
 removing the old vinyl


the marmoleum waiting in the dining room
The subflloor under the old vinyl was not in very good shape and the whole floor had to be "floated", which means that it had a cement like compound spread on top of it to smooth out the irregularities and such.


That spot where you can see the plywood is where the new island will go.  And today the marmoleum will be installed.


Monday, February 27, 2012

Marmoleum "Rug" Design

This is the design for my Marmoleum "rug"/ floor cloth.  I made this design with Excel borders.

I ran an Excel macro that sets up a square grid.   I used format borders to put in the design lines and the color bucket for color.  Once I had a few squares done, I used the copy format tool to duplicate the design to other squares.

Then I copied the design into Paint and saved it as a JPG file.  I rotated the JPG file 45 degrees and "warmed" the JPG to change the colors a little.  .... the color is close to what I want.